
Lens overview
Announced in late 2014 as the successor to the push‑pull 100–400 Mark I, the EF 100–400 mm f/4.5–5.6L IS II USM brought a clean‑sheet optical design (21 elements/16 groups with 1 fluorite + 1 Super UD) plus Canon’s then‑new Air Sphere Coating (ASC) and a 4‑stop stabilizer. Minimum focus dropped dramatically to 0.98 m with 0.31× magnification—surprisingly handy for close wildlife and detail shots in the field. Official size/weight are 94 × 193 mm, 1,570 g (without/with collar, see below), and a 9‑blade circular diaphragm rounds out the highlights nicely. Canon Global
Where it sits in your kit: if the EF 70–200 mm f/2.8L IS II is our “events and portraits” staple and the EF 70–200 mm f/4L (non‑IS) our “lightweight tele,” this 100–400 II is the wildlife/safari and field‑sports anchor—especially when you can’t step closer. (See our reviews of the 70–200 f/4L and 70–200 f/2.8L IS II for context.)
Build and ergonomics
Canon replaced the old push‑pull with a rotation‑type zoom and an adjustable zoom‑torque ring, so you can set resistance for smooth pulls or lock it down for rough rides. The lens extends when zoomed (unlike 70–200s), but balance remains predictable; the detachable tripod collar (included) helps on a monopod or beanbag. The ET‑83D hood has a side window—you can adjust a circular polarizer without removing the hood (handy around water or wet foliage). Construction is weather‑resistant with fluorine‑coated front/rear elements. With collar attached, the package is ~1,640 g; without collar, 1,570 g.
What’s in the box: ET‑83D hood, LZ1326 case, and tripod collar ship with the lens.
Optical performance
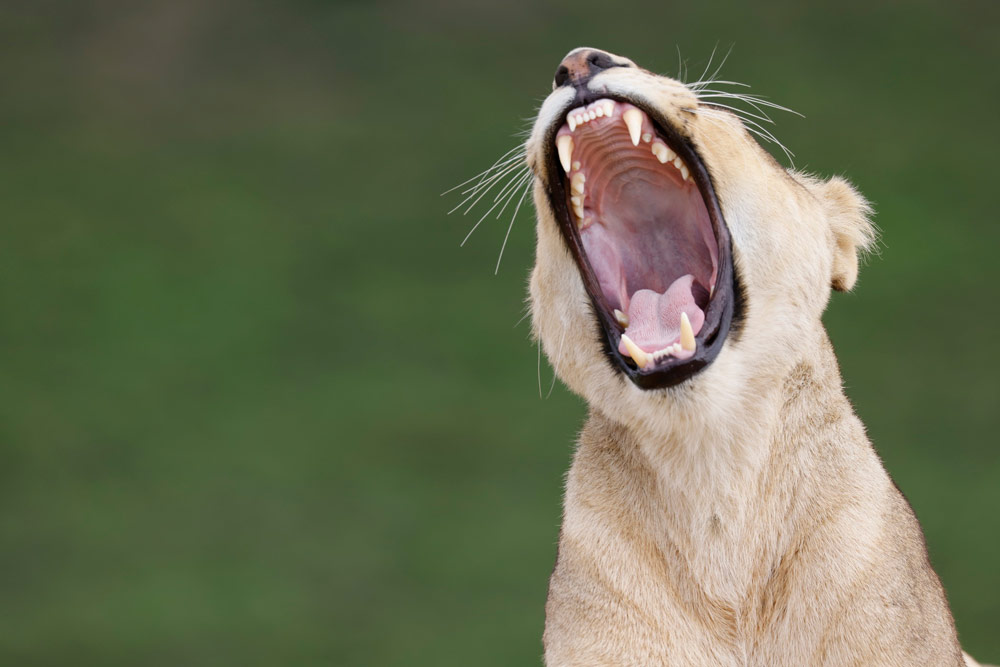
Resolution & contrast. Wide‑open performance is already strong; stopping down a third to one stop tightens corners. The fluorite + Super UD pairing keeps secondary spectrum under control, so color and micro‑contrast hold up in haze and backlight—common safari conditions.
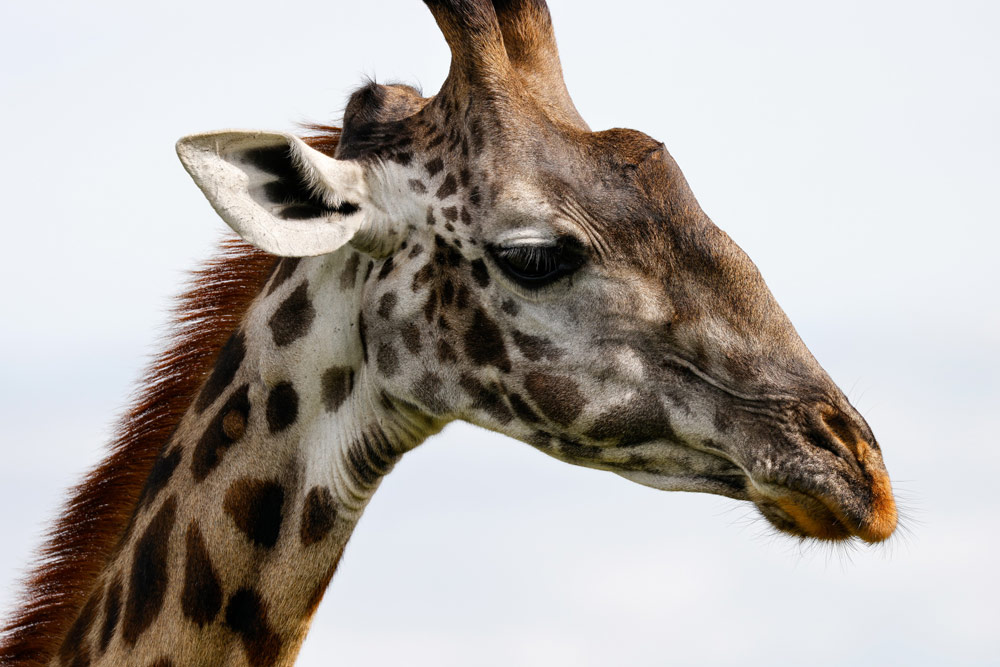
Close‑up ability. That 0.98 m MFD at 0.31× is a highlight: small reptiles, lizards, flowers in camp—you’ll use it more than you expect.
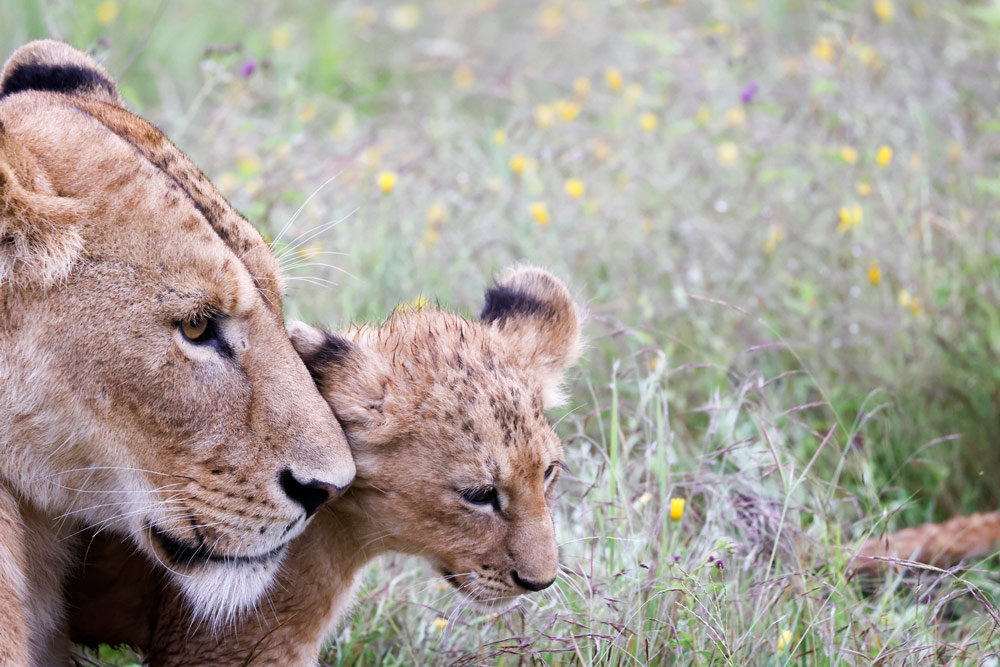
Bokeh & rendering. The 9‑blade circular diaphragm yields smooth, round highlights, especially toward the long end and at closer distances—subject isolation is easy at 300–400 mm.
IS & flare. The 4‑stop stabilizer is effective; IS Mode 1 for general use, Mode 2 for panning, and Mode 3 (stabilize only during exposure) for erratic subjects. ASC helps tame backlit veiling and ghosts.
Distortion & vignetting. Mild and well‑behaved for the class; easily corrected in‑camera/RAW profiles according to most tests. (Canon’s design notes emphasize uniform performance across the range.)
Digital adaptation (EF → RF) — IBIS & focus on EOS R5
- Mounting/AF. On EOS R bodies, use any EF‑EOS R adapter; AF, IS, EXIF, and corrections pass through fully.
- IBIS cooperation. Canon states IBIS works with EF lenses. With an IS lens like this one, the lens IS handles pitch/yaw, while IBIS adds roll + X/Y for five‑axis correction (exact effectiveness varies by pairing). Practically, leave the IS switch ON; the body coordinates stabilization. Canon Academy
- AF at small apertures (extenders). R‑series bodies like the R5 can autofocus at tiny effective apertures (well beyond DSLR f/8 limits), which keeps 1.4× and even 2× extenders viable.
Extenders: 1.4× vs 2× (and why the 1.4× is the “compact minimum” for Africa)
- Compatibility: Officially supports Canon EF 1.4× III and EF 2× III.
- Effective ranges & apertures:
- 1.4× → 140–560 mm f/6.3–8
- 2× → 200–800 mm f/9–11 (usable on R5; many DSLRs struggled to AF at f/11). Canon Community
- Field logic: On safari, the 1.4× is a small, light add‑on that plays nicely with heat shimmer and keeps shutter speeds reasonable. The 2× is powerful for distant birds or moon‑rise silhouettes, but in midday African mirage, it often resolves less detail than a clean 400–560 mm frame plus a smart crop from a high‑res R5. (Carry the 1.4× by default; pack the 2× only if you know you’ll need the reach.)
Safari field notes (Africa)
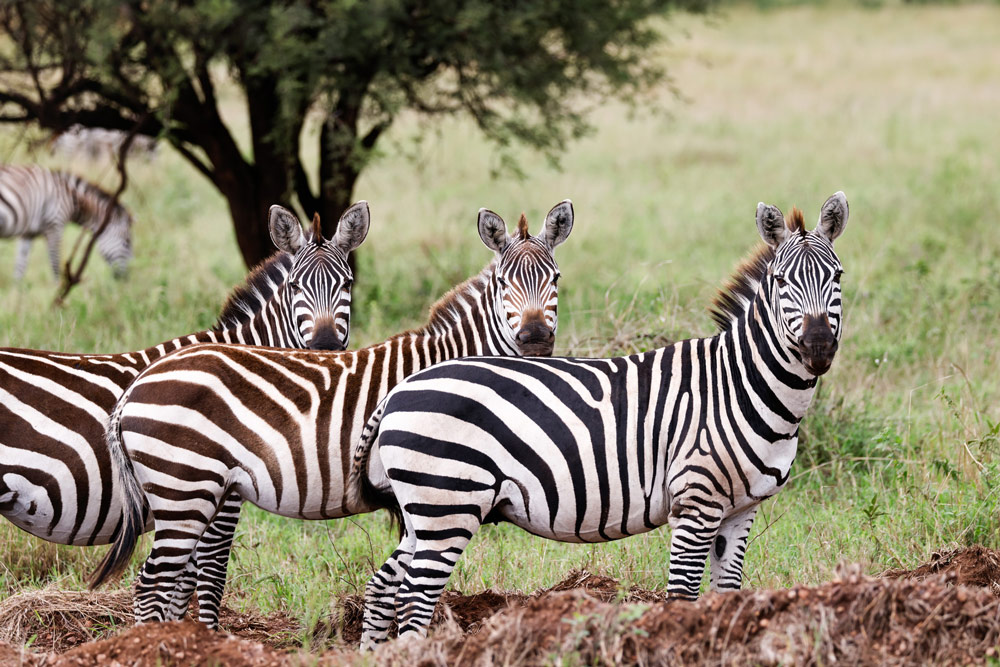
- Why 100–400 works: Drive‑by distances change fast—lions at 40 m… then an oxpecker at 2 m. The zoom range and 0.98 m close‑focus let you react without changing lenses (dust!), and the ET‑83D hood shields stray light and grit.
- Technique: Start around 1/1000–1/1600 s for moving mammals/birds and let IS soak up your hand‑tremor. Use Mode 2 for panning giraffes in golden hour; try Mode 3 when unpredictable motion makes a stabilized VF distracting.
- Support: A beanbag on the safari vehicle rail plus the tripod collar improves stability without the hassle of sticks; the collar lets you rotate quickly for portrait giraffe frames.
- Filters: A CPL can calm glare on water or wet hide; the hood’s window makes adjustments painless—but be mindful of the shutter‑speed penalty at 400–560 mm.
Historical and collector context
The Mark II (2014) replaced the beloved 1998 push‑pull original with a ring zoom, IS Mode 3, better coatings (ASC), and toughness worthy of heavy fieldwork. It is still actively offered by Canon and widely available for use.
Impressions
Treat 300–400 mm as the home base. Use f/5.6–7.1 for a touch more crispness at the long end when light allows; exploit 0.98 m MFD for environmental detail. On the R5, Eye‑AF plus the lens’s fast ring‑USM feels native via adapter—tracking zebras through scrub is almost effortless.
Sample photos

Verdict — Pros & Cons
Pros
- Superb all‑round wildlife zoom; strong, long‑end performance and contrast
- 4‑stop IS with Modes 1/2/3; 9‑blade circular diaphragm for pleasing blur
- 0.98 m / 0.31× close‑focus for “almost‑macro” field details
- Works seamlessly on R‑series via adapter; IBIS cooperates with lens IS
- ET‑83D hood with CPL window; tripod collar included; weather‑resistant build.
Cons
- Hefty (~1.6 kg with collar); long days benefit from a monopod/beanbag
- f/5.6 at 400 mm means higher ISOs at dusk—consider the 1.4× judiciously
- 2× is situational; heat shimmer and f/11 can limit practical gains.

, verdict, score.)